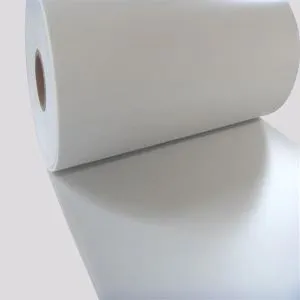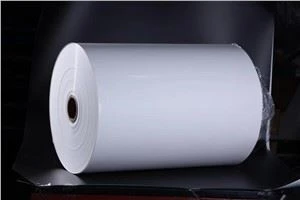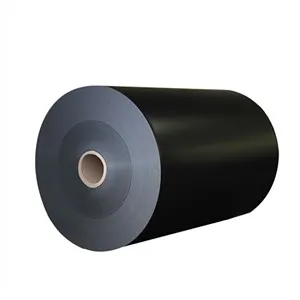
Yo, what's up everyone! I'm a supplier of sheet rubber, and today I wanna share some tips on how to bond sheet rubber to wood. It's a common task in many DIY projects, from making custom gaskets to building unique furniture pieces. So, let's dive right in!
Why Bond Sheet Rubber to Wood?
First off, you might be wondering why you'd even want to bond sheet rubber to wood. Well, there are a bunch of reasons. Rubber is great for adding cushioning, reducing noise, and providing a seal. When you combine it with wood, which is a strong and versatile material, you can create all sorts of useful and cool stuff.


For example, if you're making a piece of furniture, adding a sheet of rubber to the bottom of the legs can prevent scratches on your floors. Or, if you're building a box or a cabinet, a rubber gasket made from sheet rubber can keep out dust and moisture.
Choosing the Right Sheet Rubber
As a sheet rubber supplier, I know there are a lot of options out there. You've got different types of rubber, like natural rubber, synthetic rubber, and thermoplastic elastomers (TPEs). Each type has its own properties, so it's important to choose the right one for your project.
- TPE Sheet for Gasketing: This type of rubber is great for making gaskets because it's flexible and has good sealing properties. You can check out our TPE Sheet for Gasketing for more info.
- Santoprene 101 - 64 Extrusion Sheet: Santoprene is a type of thermoplastic vulcanizate (TPV) that's known for its durability and resistance to chemicals. Our Santoprene 101 - 64 Extrusion Sheet is a popular choice for a wide range of applications.
- TPV Sheet for Loudspeaker: If you're working on a speaker project, a TPV sheet can provide the right amount of flexibility and damping. Take a look at our TPV Sheet for Loudspeaker to see if it's a good fit for you.
Preparing the Surface
Before you start bonding, you need to make sure the surfaces of the rubber and the wood are clean and dry. Any dirt, grease, or moisture can prevent the adhesive from working properly.
- Wood: Sand the wood surface lightly to create a rough texture. This will help the adhesive stick better. Then, wipe it down with a clean cloth to remove any dust.
- Rubber: Clean the rubber with a mild detergent and water. Rinse it thoroughly and let it dry completely. You can also use an adhesive primer on the rubber to improve the bond, but it's not always necessary.
Selecting the Adhesive
There are several types of adhesives you can use to bond sheet rubber to wood. The choice depends on the type of rubber, the application, and how strong the bond needs to be.
- Contact Cement: This is a popular choice because it forms a strong bond quickly. Apply the cement to both the rubber and the wood using a brush or a roller. Let the cement dry until it's tacky, then carefully press the rubber onto the wood. Make sure to get rid of any air bubbles.
- Epoxy: Epoxy is a two - part adhesive that's very strong and durable. Mix the two parts together according to the instructions, then apply it to the surfaces. Epoxy takes longer to dry than contact cement, but it can withstand more stress.
- Polyurethane Adhesive: Polyurethane adhesives are flexible and can bond well to both rubber and wood. They also have good resistance to water and heat. Apply the adhesive as directed and clamp the rubber and wood together until it dries.
Bonding Process
Now that you've got the right materials and everything's prepared, it's time to start the bonding process.
- Apply the Adhesive: Use a brush, roller, or applicator to apply the adhesive evenly to both the rubber and the wood. Make sure to cover the entire surface that will be bonded.
- Align the Rubber: Carefully place the rubber on the wood, making sure it's in the right position. You can use a ruler or a template to help with alignment.
- Press the Rubber: Use a roller or a flat object to press the rubber onto the wood, starting from the center and working your way out. This will help to remove any air bubbles and ensure a good bond.
- Clamp the Bond: If you're using an adhesive that requires clamping, use clamps to hold the rubber and wood together tightly. Follow the adhesive manufacturer's instructions for how long to clamp.
- Let it Dry: Allow the adhesive to dry completely. This can take anywhere from a few hours to a couple of days, depending on the type of adhesive.
Testing the Bond
Once the adhesive has dried, it's a good idea to test the bond. Gently try to pull the rubber away from the wood. If it comes off easily, the bond isn't strong enough, and you may need to re - apply the adhesive.
Tips and Tricks
- Work in a Well - Ventilated Area: Many adhesives give off fumes that can be harmful, so make sure you have good ventilation.
- Wear Gloves: Adhesives can be messy and may irritate your skin, so it's a good idea to wear gloves.
- Use a Release Agent: If you're using a mold or a template, apply a release agent to prevent the rubber from sticking to it.
Conclusion
Bonding sheet rubber to wood isn't too difficult if you follow these steps. Just make sure you choose the right materials, prepare the surfaces properly, and use the right adhesive. Whether you're a DIY enthusiast or a professional, you can create some really awesome projects with sheet rubber and wood.
If you're interested in purchasing sheet rubber for your next project, feel free to reach out to us for more information and to discuss your specific needs. We're here to help you find the perfect sheet rubber for your application.
References
- "Handbook of Adhesive Bonding" by Alan V. Pocius
- "Rubber Technology: Compounding, Testing, and Applications" by Maurice Morton